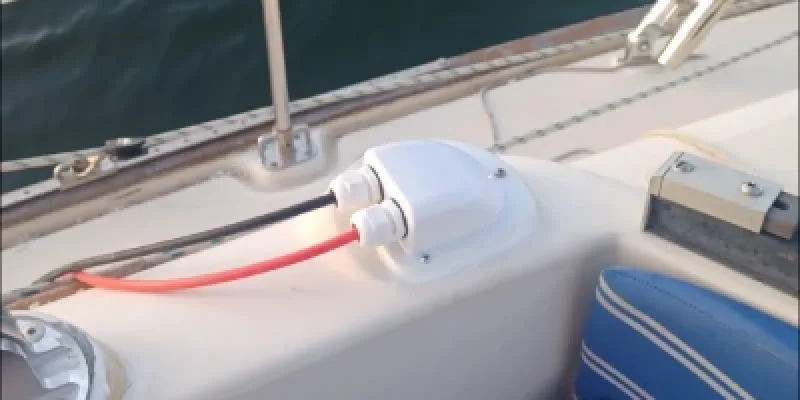
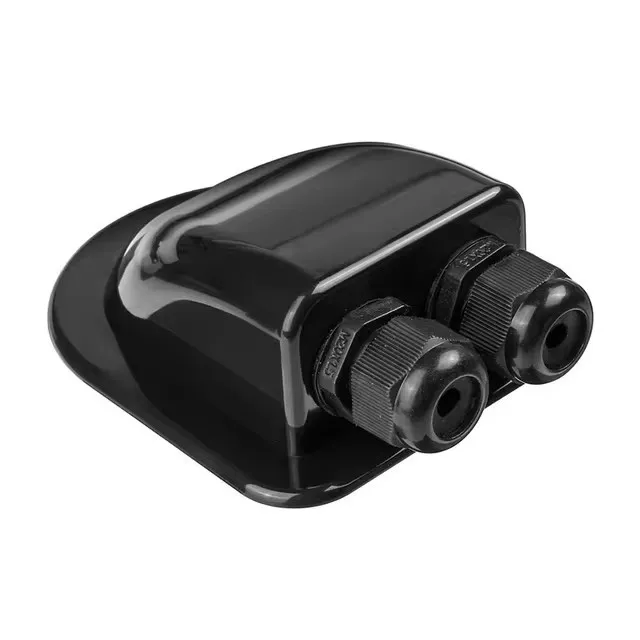
Соберите инструменты и материалы
VIOX Кабельный ввод для солнечных батарей
Прежде чем приступить к установке ввода солнечного кабеля, соберите все необходимые инструменты и материалы, чтобы процесс прошел гладко. Для создания отверстия в крыше фургона вам понадобится биметаллическая пила, обычно диаметром около 5 см, и электродрель. Среди необходимых материалов - высококачественный герметик, например Sikaflex, который обеспечивает отличные гидроизоляционные свойства.
Другие важные предметы включают:
- Винты для крепления сальника (если требуется для конкретной модели)
- Измерительная лента и маркер для точного размещения отверстий
- Чистящие средства, например, спиртовые салфетки или чистая тряпка
- Наждачная бумага для сглаживания неровностей
- Бутиловая лента для дополнительной герметизации
- Защитное оборудование, такое как перчатки и защитные очки
Наличие всех этих инструментов и материалов перед началом работ поможет упростить процесс установки и обеспечить надежное и водонепроницаемое крепление ввода солнечного кабеля.
Выберите место установки
Выберите подходящее место на крыше автомобиля для ввода кабеля солнечной батареи, убедившись, что оно не загромождено и легко доступно для подключения к солнечным панелям. Идеальное место должно находиться рядом с местом установки солнечных панелей, что позволит свести к минимуму длину открытого кабеля на крыше. Продумайте и внутреннюю планировку, выбрав место, позволяющее удобно проложить кабели к контроллеру заряда или аккумуляторной системе. Очень важно избегать мест с существующей проводкой, структурными опорами или другими особенностями крыши, которые могут усложнить процесс установки.
Зона проведения учений и подготовки
Перед установкой ввода солнечного кабеля важно правильно подготовить место и создать необходимое отверстие в крыше фургона. Этот шаг требует точности и осторожности, чтобы обеспечить надежную фиксацию и сохранить целостность конструкции автомобиля.
Начните с разметки точного места, где вы будете сверлить отверстие для сальника. Используйте измерительную ленту и маркер, чтобы точно определить центральную точку и убедиться, что она совпадает с выбранным местом установки. Дважды проверьте свои измерения, чтобы избежать ошибок, которые могут помешать установке.
Затем выберите подходящую по размеру биметаллическую пилу для отверстий в железе, обычно около 5 см в диаметре. Присоедините пилу к дрели и аккуратно просверлите кровельный материал. Прикладывайте постоянное давление и поддерживайте постоянную скорость, чтобы создать чистое круглое отверстие. Будьте осторожны, чтобы не повредить нижележащие конструкции или проводку.
После того как отверстие просверлено, тщательно очистите область вокруг него, чтобы удалить металлическую стружку, пыль или мусор. Используйте чистую тряпку или спиртовые салфетки, чтобы убедиться, что поверхность полностью чистая и сухая. Этот шаг очень важен для правильной адгезии герметика и общей эффективности водонепроницаемого уплотнения.
Осмотрите края просверленного отверстия на предмет наличия заусенцев или шероховатостей. Если они есть, слегка отшлифуйте их, чтобы создать гладкую поверхность. Это поможет предотвратить повреждение кабелей и обеспечит плотное прилегание сальника.
Прежде чем приступить к установке сальника, пробно установите входной сальник в только что просверленное отверстие, чтобы убедиться в его правильной посадке. При необходимости внесите необходимые изменения в размер отверстия, но будьте осторожны, чтобы не переборщить.
Наконец, нанесите слой бутиловой ленты по периметру отверстия на поверхность крыши. Этот дополнительный слой герметика служит дополнительным барьером против проникновения воды и помогает создать более надежное уплотнение при установке сальника.
Тщательно подготовив место и создав точное отверстие, вы заложите основу для успешной и герметичной установки ввода солнечного кабеля в ваш фургон.
Уплотнение и фиксация сальника
Чтобы правильно загерметизировать и закрепить сальник для ввода солнечного кабеля, сначала нанесите большое количество герметика вокруг просверленного отверстия и основания сальника. Это создаст водонепроницаемый барьер, необходимый для предотвращения проникновения влаги. Осторожно вставьте сальник в подготовленное отверстие, обеспечив его плотное прилегание к поверхности крыши.
Для сальников с резьбовой конструкцией вставьте сальник в отверстие, поворачивая его по часовой стрелке до плотного прилегания. Если в вашем сальнике используется компрессионный механизм, следуйте инструкциям производителя для правильной затяжки. Важно добиться надежной фиксации без чрезмерного затягивания, которое может повредить крышу или нарушить герметичность.
После установки уплотнителя на место нанесите дополнительный герметик по краям, где он соприкасается с поверхностью крыши. Этот дополнительный слой защиты усиливает водонепроницаемое уплотнение. Дайте герметику затвердеть в соответствии с рекомендациями производителя, прежде чем приступать к прокладке кабеля.
Для дополнительной безопасности некоторые монтажники предпочитают использовать винты из нержавеющей стали для крепления фланца желоба к крыше. Если вы выберете этот метод, будьте осторожны, чтобы не проткнуть нижележащие конструкции или проводку. При необходимости предварительно просверлите пилотные отверстия и нанесите герметик на отверстия для винтов перед их установкой.
После закрепления сальника тщательно осмотрите его, чтобы убедиться в отсутствии щелей и мест возможной утечки. Правильно загерметизированный и закрепленный сальник значительно снижает вероятность попадания воды и влаги в автомобиль, защищая электрические системы и салон от повреждений.


