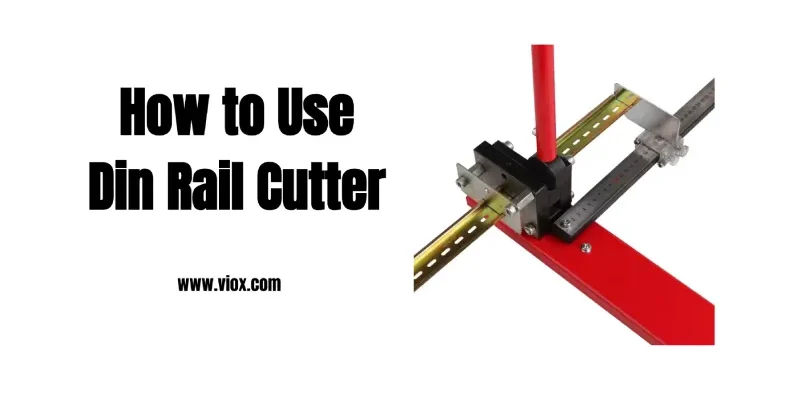
DIN rail cutters are specialized tools designed to provide clean, precise cuts for various types of DIN rails used in electrical and control panel installations. These bench-mounted devices offer a safe and efficient alternative to manual cutting methods, ensuring accurate measurements and burr-free edges for professional results.
DIN Rail Cutter Setup
To set up a DIN rail cutter, securely mount it to a solid workbench using appropriate screws. Drill four holes 9-10mm (3/8″) in diameter and use 8mm (5/16″) machine screws for optimal stability. Install the handle by screwing it into place, then attach the measuring rail and guide system. Ensure ample space around the machine for comfortable operation. Some models come with a 1-meter measuring guide with a stop end for precise length adjustments. This setup provides a stable foundation for accurate and efficient DIN rail cutting, accommodating various rail types including top hat, G-style, and miniature profiles.
Step-by-Step Cutting Process
Begin by setting the measuring guide to your desired cutting length, aligning it with the rail’s measurement markings, and securing it in place. Insert the DIN rail from the left side into the appropriate slot based on the rail type, pushing it until it meets the guide stop. Lower the guide wall to ensure the rail is flush against it. To make the cut, pull the operating lever down in one smooth motion, approximately 135 degrees, then gently return it to its upright position. Finally, lift the guide wall and remove the freshly cut piece. This process ensures clean, burr-free cuts without requiring additional filing or finishing work, saving time and improving efficiency in control panel assembly.
Safety Tips for Usage
When using a DIN rail cutter, prioritize safety by wearing appropriate eye protection and ensuring the machine is properly secured before operation. Cut only one rail at a time to prevent overloading the device. If you encounter unusual resistance during cutting, stop immediately to avoid potential damage or injury. Keep hands clear of the cutting area and use the guide wall to maintain proper rail positioning. For optimal results, perform cuts in a single, smooth motion, and allow the machine to complete its cycle before removing the cut piece.
Maintenance for Longevity
To ensure the longevity and optimal performance of your DIN rail cutter, implement a regular maintenance routine. Clean the cutting machine after each day’s use, removing dirt from moving parts and dies. Regularly oil mechanical components to maintain smooth operation. Periodically inspect and clear the steel punching chute to prevent debris buildup. These maintenance practices not only extend the tool’s lifespan but also contribute to consistent, high-quality cuts over time. By keeping the cutter in top condition, you’ll minimize downtime and maintain the professional finish of your DIN rail cuts, essential for efficient control panel assembly.
Common Issues and Troubleshooting
When using a DIN rail cutter, operators may encounter some common issues. One frequent problem is difficulty in cutting, which can be caused by using incompatible rail profiles or a dull blade. To resolve this, ensure you’re using the correct rail type specified for your cutter and consider lubricating the blade with oil spray. If cuts are uneven or leave burrs, check that the rail is properly aligned and flush against the guide wall before cutting.
For punching issues, make sure the tool is correctly installed on the workbench and remove any scrap material from under the machine. If the punches become blocked in the steel profile, only use the recommended rail types and apply oil spray to the punches and dies. Regular maintenance, including cleaning and lubricating moving parts, can prevent many common problems and ensure smooth operation. If issues persist, consult the manufacturer’s manual or contact their support team for specialized assistance.


