
The Weekend Project That Almost Became a Fire Hazard

You’re finally upgrading your home’s curb appeal with new outdoor lighting—sleek LED wall sconces flanking the front door, motion-sensor floodlights for security, and maybe some pathway lights to illuminate the walkway. You’ve got the fixtures, the wiring plan, and a free Saturday. This should be straightforward.
Then, halfway through the installation, you hit a wall of doubt: “Do I actually need a junction box for this outdoor light?” Your neighbor’s porch lights don’t have any visible box. The online tutorial you watched seemed to just wire-nut the connections and tuck them behind the fixture backplate. A junction box adds $25 and another 30 minutes to the job. Maybe it’s optional?
Here’s the problem: That shortcut could fail your inspection, void your homeowner’s insurance if there’s a fire, and put your family at risk. So when is a junction box truly required, and when can you skip it? Let’s settle this once and for all.
Why This Confusion Exists (And Why It Matters)
The confusion is understandable. Walk through any neighborhood and you’ll see outdoor lights with no obvious junction box visible. Some fixtures appear to mount flush against the wall with just a couple of screws. This leads many to assume junction boxes are optional—a “nice to have” for professional electricians but not necessary for a simple light fixture.
The reality is more nuanced. The National Electrical Code (NEC) Article 314.29 and 110.3(B) are crystal clear: all wire splices, connections, and terminations must be contained within an approved enclosure that remains accessible. Your outdoor environment—with its rain, temperature swings, UV exposure, insects, and physical impacts—makes this requirement even more critical. A junction box isn’t just a code checkbox; it’s the electrical system’s first line of defense against moisture intrusion, arc faults, and fire.
Pro-Tip: The #1 mistake DIYers make is assuming “outdoor-rated” wire alone is sufficient. Even THWN-2 or UF cable rated for wet locations must have all splice points housed in an approved, weatherproof enclosure. Exposed wire nuts—even if wrapped in electrical tape—are a code violation and a ticking time bomb.
The Answer: Yes (With Important Exceptions)
For hardwired outdoor lighting connected to your home’s 120V electrical system, a weatherproof junction box is required—period. This includes wall sconces, floodlights, porch lights, soffit lights, and any permanently installed fixture. The junction box serves three non-negotiable functions:
- வானிலை பாதுகாப்பு: Creates a sealed enclosure that keeps rain, snow, moisture, and humidity away from live electrical connections
- Safety Containment: Prevents electrical arcing, shorts, and potential fire by isolating connections in a fire-resistant enclosure
- குறியீடு இணக்கம்: Satisfies NEC requirements and local building codes, ensuring your installation passes inspection and maintains insurance coverage
But here’s where it gets interesting—and where you might actually have flexibility.


The Three Scenarios: When You Need a Box (And When You Don’t)
Scenario 1: Standard Hardwired Fixtures (Junction Box Required)
When: You’re installing any outdoor light fixture that connects permanently to your home’s 120V electrical wiring—wall sconces, floods, pendant lights, or porch lights where you’re making wire-to-wire splices.
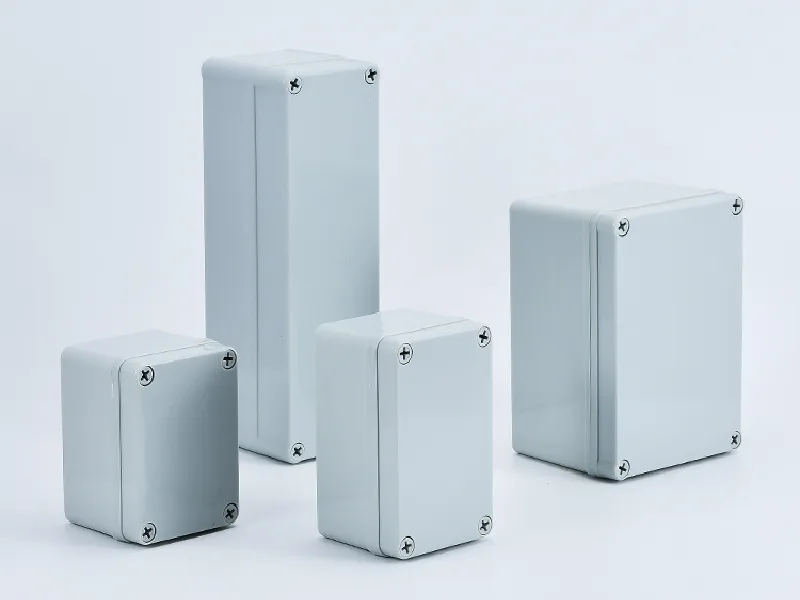
What you need: A weatherproof junction box rated NEMA 3R (rain-tight) minimum, mounted to structure, with appropriate weatherproof connectors for your wiring method.
முக்கிய குறிப்பு: This is 90% of residential outdoor lighting installations. If you’re running Romex or conduit to a fixture and splicing wires together, you absolutely need a proper junction box. No exceptions, no shortcuts.
Scenario 2: Fixtures with Integrated Junction Boxes (Separate Box Not Required)
When: Your fixture is specifically designed and UL-listed with a built-in, weatherproof junction compartment. This is common in commercial-grade fixtures, many modern LED wall packs, and some high-end residential fixtures.
What to verify: Check the fixture’s installation instructions and UL listing. It should explicitly state “integral junction box” or “no j-box required.” The fixture body itself serves as the approved enclosure.
Pro-Tip: If your light mounts directly to the wall with no visible box but you’re unsure if it has an integrated junction, look for these clues: (1) The fixture back has a large wire entry knockout and internal wire compartment with at least 6 cubic inches of space, (2) The UL listing tag states “suitable for use without a separate junction box,” and (3) Installation instructions don’t mention a junction box requirement. When in doubt, install a junction box—it’s always the safer choice.
Scenario 3: Low-Voltage and Solar Lighting (Junction Box Not Required)
When: You’re installing low-voltage landscape lighting systems (12V or 24V), solar-powered fixtures, or battery-operated lights that don’t connect to household 120V wiring.
Why it’s different: These systems operate at safe, low voltages that don’t present the same fire and shock hazards. The NEC’s junction box requirements apply specifically to premises wiring—your home’s permanent electrical system.
Important distinction: Even low-voltage systems need weatherproof connection methods (gel-filled wire nuts, waterproof connectors), but they don’t require the same hard enclosures as 120V wiring.
Your Three-Step சந்திப்புப் பெட்டி Selection and Installation Process
Now that you understand when you need a junction box, let’s talk about how to choose and install the right one. This is where most DIY installations go wrong—not from skipping the box entirely, but from using the wrong type or installing it improperly.
Step 1: Select the Right Junction Box Type and Rating
Match the box to your environment—not all “outdoor” boxes are equal.
Material options:
- PVC/Plastic boxes: Best moisture resistance, won’t rust, non-conductive (safer), UV-stabilized varieties last 20+ years. Ideal for most residential applications. Cost: $8-20.
- Die-cast aluminum boxes: Superior durability and mounting strength, excellent for heavy fixtures, naturally corrosion-resistant. Premium choice for coastal or high-traffic areas. Cost: $15-40.
- Galvanized steel boxes: Budget option with good structural strength but will eventually rust if gaskets fail. Requires vigilant maintenance. Cost: $10-25.
NEMA rating requirements:
- NEMA 3R (rain-tight): Minimum requirement for outdoor lighting. Protects against rain, sleet, snow, and external ice formation. Suitable for covered porch areas and standard residential applications.
- NEMA 4X (weatherproof/corrosion-resistant): Required for coastal environments (salt air), areas with driving rain, or industrial settings. Provides superior gasket sealing and corrosion protection.
Size matters—calculate box fill correctly:
The NEC Article 314.16 requires adequate box volume for your wire count. Use this quick reference:
- Single fixture (2-wire + ground): 4″ square box with 1.5″ depth minimum (18 cubic inches)
- Junction feeding multiple fixtures: 4″ square × 2.125″ deep (30 cubic inches) or larger
- Add volume for devices: If installing GFCI outlets or switches in the box, upsize accordingly
Pro-Tip: When in doubt, go one size larger. An oversized box is easier to work with, dissipates heat better, and provides room for future modifications. A cramped box with stuffed wires is a code violation waiting to happen (NEC 314.16) and creates dangerous hot spots.
Step 2: Mount and Weatherproof the Box Properly
Correct mounting prevents 90% of outdoor box failures.
Structural mounting essentials:
- Never mount only to siding or stucco: The box must be secured to structural framing (studs, blocking, or masonry). Siding moves with temperature changes and will work screws loose within months.
- Use appropriate anchors: For brick/stone, use stainless steel sleeve anchors or tapcon screws. For wood, use #10 stainless steel wood screws minimum, 1.5″ long into solid framing.
- Maintain proper standoff: If mounting over siding, use a weatherproof box extender or spacers to keep the box face flush and maintain gasket seal integrity.
Weatherproofing checkpoints:
- Gasket integrity: Ensure the box’s foam gasket is properly seated with no gaps. Replace damaged gaskets immediately.
- Cable entry sealing: Use weatherproof cable connectors (liquid-tight or cord grips) for all entry points. Never rely on knockout plugs alone.
- Penetration sealing: Apply exterior-grade silicone sealant where the box meets the mounting surface, but leave weep holes at bottom unobstructed (allows condensation drainage).
- Cover fit: The weatherproof cover must close completely and maintain gasket compression even with wires passing through. Use “in-use” covers for receptacles.
முக்கிய குறிப்பு: A $35 weatherproof box installed incorrectly performs worse than a $10 box installed correctly. The mounting and sealing details matter more than the box price tag.
Step 3: Wire It Code-Compliant and Maintain Accessibility
The final critical details that inspectors check—and failures cause callbacks.
Grounding and bonding:
- Metal boxes must be grounded: Run an equipment grounding conductor (bare or green wire) to the box’s grounding screw or listed grounding clip. This is not optional.
- Plastic boxes: Ground wire must pass through and connect to the fixture’s grounding screw. Use green wire nuts to join grounds.
- GFCI protection: NEC 210.8 requires GFCI protection for most outdoor receptacles and some lighting circuits. Verify your local code amendments.
Maintain code-required accessibility:
NEC 314.29 states junction boxes must remain accessible “without removing any part of the building structure or finish.” This means:
- ✓ Acceptable: Box behind a removable fixture, under a removable deck board, or behind a hinged access panel
- ✗ ✗ कालिका Violation: Box buried behind drywall, under poured concrete, or above permanent ceiling finish
Why it matters: Future troubleshooting, repairs, or circuit modifications require access. Buried boxes create safety hazards and costly demolition work.
Wire connection best practices:
- Use wire connectors rated for the environment (some wire nuts aren’t rated for damp/wet locations)
- Follow manufacturer torque specs for terminal screws (typically 10-12 in-lbs for #14-12 AWG)
- Leave 6-8 inches of wire length in the box for future service
- Label circuits clearly if the box serves as a junction for multiple fixture runs
Pro-Tip: Take a photo of the completed wiring before closing up the box. Store it digitally with your home maintenance records. This 30-second step saves hours of troubleshooting years later and provides documentation for home sales or insurance claims.
Common Installation Mistakes That Fail Inspections
Even when DIYers install a junction box, these errors still cause problems:
- ❌ Mistake #1: Using an indoor-rated box outdoors Standard gray PVC or metal “handy boxes” aren’t weatherproof. They have no gaskets and aren’t designed for moisture exposure. They’ll corrode, allow water intrusion, and fail within 6-18 months.
- ❌ Mistake #2: Oversizing wire for the box volume Jumping from 14 AWG to 12 AWG wire without upsizing the box creates a box fill violation (NEC 314.16). Each 12 AWG wire counts as 2.25 cubic inches; 14 AWG counts as 2 cubic inches. Calculate before you run wire.
- ❌ Mistake #3: Leaving the box accessible from inside only Routing wires so the junction box is accessible only from inside the home (e.g., behind an interior wall) violates accessibility requirements unless the interior location itself is easily accessible without demolition.
- ❌ Mistake #4: Mixing wire types without proper connectors Transitioning from Romex (indoor cable) to UF cable (outdoor direct-burial) or conduit wiring requires approved methods. You can’t just strip and splice different cable types with wire nuts in a box. Use appropriate connectors.

The Bottom Line: A Junction Box Is Always the Smart Choice
Here’s what you’ve learned:
- For hardwired 120V outdoor lighting, a weatherproof junction box is required by code—it’s not optional, and skipping it risks inspection failure, insurance issues, and safety hazards.
- Fixtures with integrated junction boxes eliminate the need for a separate box—but verify the UL listing and manufacturer specs to confirm this exception applies.
- Low-voltage and solar lighting are the true exceptions—these systems don’t require junction boxes because they don’t connect to premises wiring.
- The right box must be NEMA 3R rated minimum, properly sized for wire fill, and mounted to structure with complete weatherproofing and accessible per NEC 314.29.
The investment is minimal—$15-35 for a quality weatherproof box and 20-30 minutes of installation time—but the protection is invaluable. A proper junction box prevents moisture damage that destroys fixtures ($100-500 replacement cost), eliminates fire hazards that threaten your home (average electrical fire causes $47,000 in damage), and ensures your installation passes inspection on the first try.
Your next step: Before you start your outdoor lighting project, verify whether your fixtures have integrated junction boxes by checking the UL listing and installation instructions. If not, purchase the appropriate NEMA-rated weatherproof box for your climate and mounting surface. Follow the three-step process above, and when in doubt, consult a licensed electrician—especially for complex installations or when adding new circuits.
நினைவில் கொள்ளுங்கள்: The electrical code isn’t just bureaucratic red tape. It’s written in the lessons learned from thousands of electrical failures, fires, and injuries. A $20 junction box and 30 minutes of proper installation can prevent becoming another cautionary tale.
Always check your local building codes before starting electrical work, and obtain proper permits for new circuits or significant modifications. When in doubt, hire a licensed electrician—the cost is small compared to the value of safety and peace of mind.
