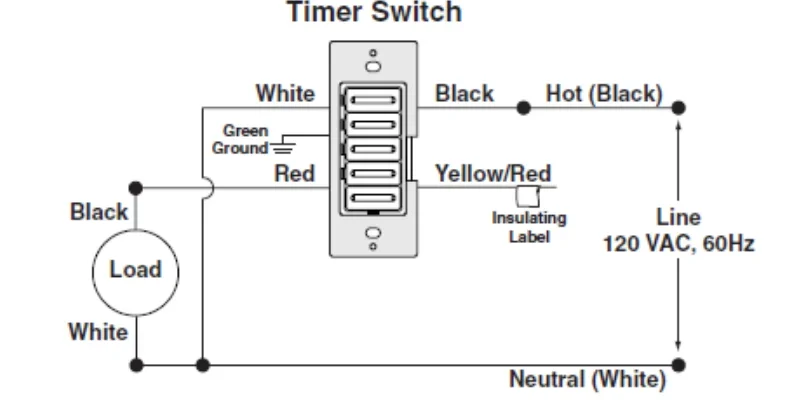
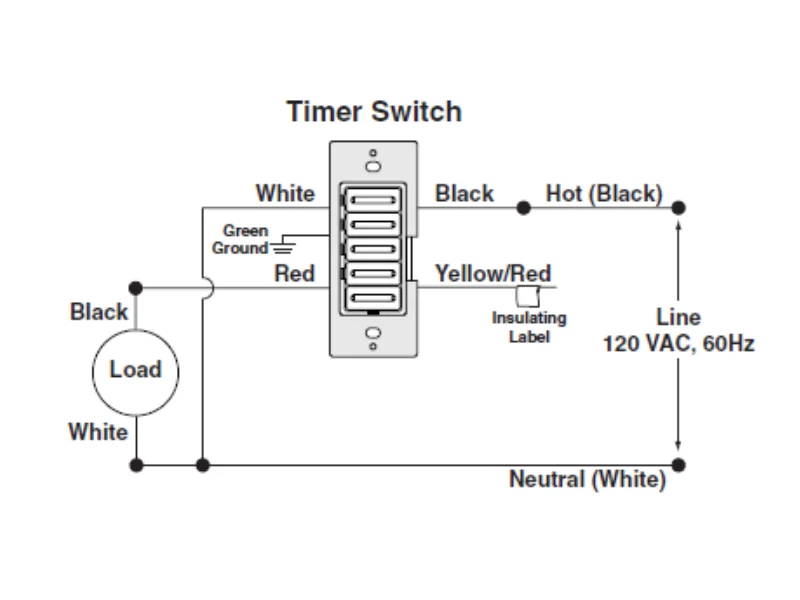
Timer switches are versatile devices that automate the operation of lights and appliances by controlling their power supply based on a pre-set schedule. Proper wiring of these switches is essential for safe, efficient functionality, with methods varying depending on factors such as load capacity, power phase requirements, and system type.
Common Timer Switch Wiring Methods
Direct control wiring is suitable for single-phase power supplies where the appliance’s power consumption does not exceed the switch’s rated value, typically up to 25A for resistive loads and 20A for inductive loads. For appliances exceeding the timer switch’s rated capacity, an AC modular contactor with a higher capacity is employed in single-phase wiring setups. In cases requiring three-phase power, an external three-phase AC contactor is necessary, with coil voltages typically at AC220V or AC380V at 50Hz. These wiring methods ensure safe and effective operation of timer switches across various load requirements and power configurations.
Step-by-Step Wiring Process
To properly install a timer switch, follow these key steps:
- Turn off power at the circuit breaker before beginning work.
- Remove the existing switch, carefully noting wire connections.
- Strip about ½ inch of insulation from each wire.
- Connect wires to the timer switch: hot wire to “L”, neutral to “N”, and load wire to “Load” or “Out”.
- Secure all connections using wire nuts or terminal screws.
- Mount the timer switch in the electrical box, ensuring no wires are pinched.
- Restore power and test the switch’s functionality.
Always consult the specific wiring diagram provided with your timer switch model, as connection requirements may vary between brands and types. For safety and proper installation, it’s crucial to identify and properly connect the neutral (white) and ground (bare/green) wires from the junction box.
Three-Phase Wiring
Three-phase wiring for timer switches requires special considerations due to the complexity of the power system. An external three-phase AC contactor is essential for this setup, typically operating with coil voltages of AC220V or AC380V at 50Hz. This configuration allows for the control of high-power appliances or industrial equipment that require three-phase power. When installing a timer switch in a three-phase system, it’s crucial to ensure proper load balancing across all phases and to verify that the contactor’s specifications match the power requirements of the connected equipment.
Special Considerations for Installation
When installing timer switches, it’s crucial to consider the specific requirements of your electrical system. Some models require a neutral wire (three-wire systems), while others can operate with just live and switched live wires (two-wire systems). Always verify the load capacity of your timer switch to prevent overheating or failure, ensuring it can handle the connected appliance’s power demands. For safety and accuracy, refer to the wiring diagrams provided with your specific timer switch model, as variations exist between different brands and types. Additionally, be aware of the different types of timer switches available, such as digital, analog, and astronomic, each offering unique features and programming options.
Common Issues and Troubleshooting Timer Switch Wiring
Timer switches can experience various issues due to wiring problems. Common problems include incorrect wiring, loose connections, and power supply issues. To troubleshoot, first check for loose or corroded wires, which can disrupt electricity flow and cause malfunctions. Ensure all connections are secure and free from damage.
If the timer doesn’t function properly, verify that it’s receiving the correct power supply using a multimeter. For intermittent timing issues, check for outdated or damaged wiring. If the timer operates but the connected device doesn’t respond, inspect the load wire connection and verify compatibility with the timer’s specifications. When all else fails, try resetting the timer to factory settings and reprogramming it. If problems persist, consult a professional electrician, as complex wiring issues may require expert intervention.
Related Article
Mechanical Timer Troubleshooting: 10 Common Problems and Easy Fixes


